Once upon a time I was lost in the world of dotfiles. I spent way too much time editing my bash profile, installing vim plugins, and tweaking my system configuration. Although it started out fun and gave me a sense of control over my system, I eventually got tired of the random bugs and incompatibility issues that naturally come with too much tweaking. Then I found yadr.
yadr is a Github project started by Yan Pritzker (aka skwp). Although these days there are many bootstrap dotfile repos on Github, this was the first one I encountered back in 2015 and I believe it’s still the best for what I do. I should note that yadr is designed for a Mac OSX environment. That being said, I’ve used it on Ubuntu in the past without too many issues.
Very simply, yadr is a collection of dotfiles which transform your terminal experience into shear magic. Installation is super easy with the included install script. Within minutes I can transfer my entire environment configuration to a virgin computer. Also, because yadr is a git repo, my home and work computers are in total sync, so I never feel like I’m missing anything when working on home projects.
Preface for the newbie
If you’re new to OSX or command line tools, don’t worry, you’ve come to the right place and your life is going to be filled with joy.
First thing to do is install Xcode from Apple. Xcode is a collection of developer tools which you’ll need to do pretty much anything on your Mac. Do a Google search for installing command line tools in Mac OSX and you should be good to go.
Okay great, now install Homebrew. Yes, it’s a terrible name, the sooner you get over it and move on with your life the better. Homebrew is the missing package manager for Mac. If you’re used to Linux, it’s basically the apt-get for Mac.
One more thing, you’re about to abondon terminal.app forever. Say goodbye. Go install iTerm2.
You’ve now taken the first step into a larger world. Welcome, friend.
Installing yadr
yadr provides profiles for the following tools, so if you already have some configurations you’d like to preserve, I’d recommend you shelve them for a moment, install yadr, and then try to add them back in to your new configuration in the appropriate places, which I’ll talk about below.
I highly recommend forking the yadr repo to your own Github account so that you have a place to experiment and make changes that suite you best.
After than, simply run the install command that’s listed on the README.
Aliases
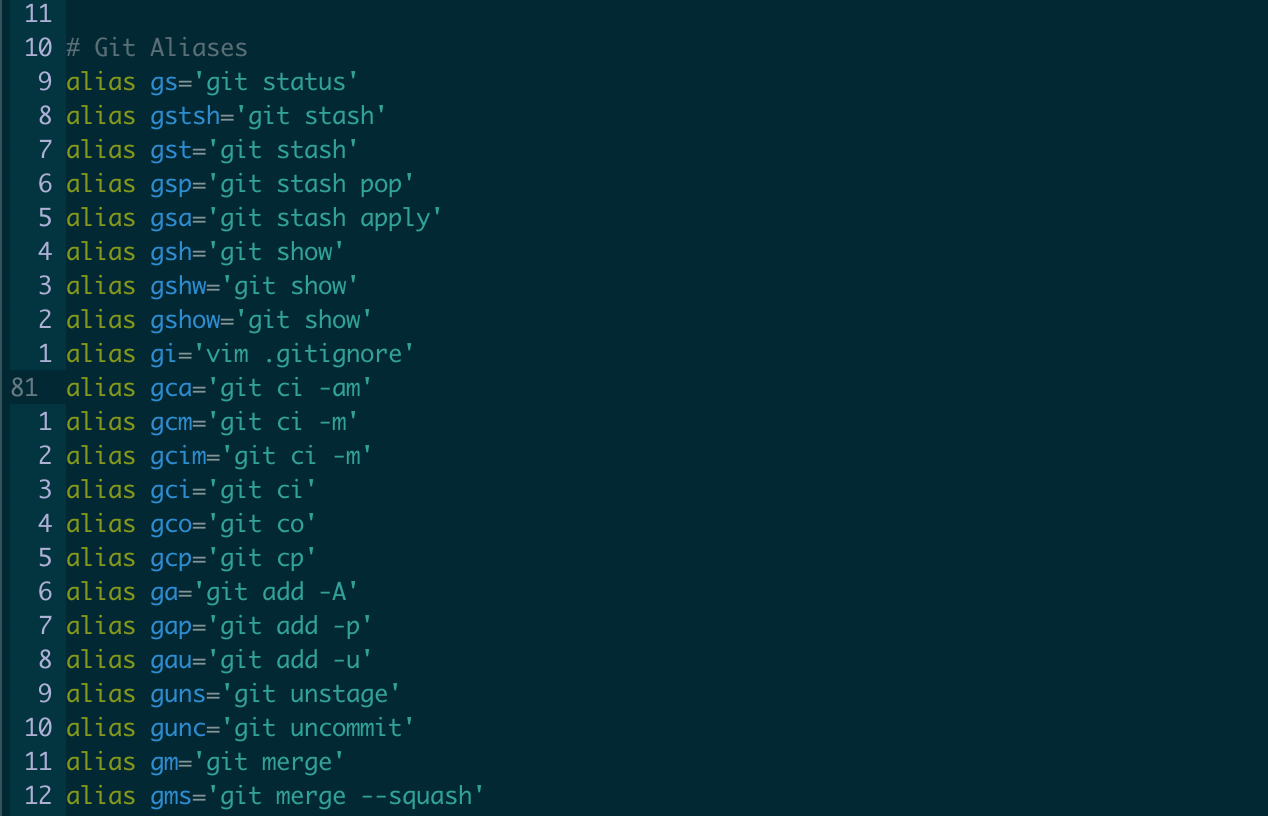
yadr offers an extensive list of cohensive aliases. Use the command ae (alias edit) to familiarize yourself with the yadr aliases.

The git alias list is one of the most useful tools I use on a day-to-day basis. Why type git status when you could simply type gs? Here are some other examples.
gaalias forgit add -Agsalias forgit statusgcoalias forgit checkoutgnb(new branch) alias forgit checkout -bguns(unstage files) alias forgit reset HEADgunc(uncommit last commit) alias forgit reset --soft HEAD^
Here’s one that I sorely miss when I’m using someone else’s machine. I can’t remember the last time I actually used ls.
llalias forls -l
If you make new aliases, you can refresh your terminal with ar (alias refresh).
Git
As mentioned above, yadr has an extensive list of git aliases in ~/.yadr/zsh/aliases.zsh file. As any seasoned git vetran knows, git aliases are usually located in the .gitconfig dotfile. yadr treats the .gitconfig aliases as an API to higher level configuration.
For instance, co is defined as checkout in ~/.yadr/git/gitconfig, but gco is defined as git co in ~/.yadr/zsh/aliases.sh.
When adding new git aliases you typically want to follow the established convention and add the base command to gitconfig and user facing alias in aliases.zsh.
Private configuration
You may then ask, what about private user configuration, where does that live?
DON’T USE THIS!!!
git config --global user.email "email@example.com"
Using the git config command will modify ~/.gitconfig, which is a symlink to ~/.yadr/git/gitconfig. This is a problem because when you commit changes to the yadr repo, you don’t want to include your personal information.
If you scan through ~/.gitconfig you’ll notice that it includes the file .gitconfig.user. You should create this file in your home directory and then add your personal information there instead. This file is outside of the yadr repository and should be created each time you install yadr on a new machine.
ZSH
If all you know is the BASH shell, then navigating your system via the terminal just got a whole lot easier. The Z shell offers command completion, spell correction, themeable prompts, and so much more.

Usually the Z shell is coupled with Oh My ZSH, which allows you to skin your shell however you like. Again yadr has got you covered. yadr heavily configures the Z shell using Oh My ZSH and Pretzo Themes for configuring your command prompt.
yadr comes with several command prompt themes, which you can find in the ~/.yadr/zsh/prezto-themes folder. Select which one you want to use by editing the ~/.yadr/zsh/theme.zsh file. You may want to create your own theme or search the web for others. Just add the theme to the prezto-themes folder and then select it with the theme.sh file mentioned above. Super easy.
Notes on rbenv
If you use rbenv to configure your Ruby environment, create a new file in ~/.zsh.before/ called rbenv.zsh and add the following lines to it.
export PATH="$HOME/.rbenv/bin:$PATH"
eval "$(rbenv init -)"
Any files in .zsh.before will get loaded before any files in ~/.yadr/zsh/.
TMUX
tmux enables multiple windows and panes within a single terminal window. You get a convenient navigation bar at the bottom on the screen to keep track of everything.

Usually the first thing I do when I open my terminal for the first time after a reboot is to start a new tmux session as follows.
$ tmux new-session -t work
If you’re not familiar with tmux, then you might want to read a getting started guide like this one.
If you’re used to using tmux then you know that the default prefix key is CTRL + b. yadr reconfigures this to CTRL + a, which is easier to type with one hand.
Here are things I usually use after opening a new tmux session. There are a ton of other things you can do with tmux, but this is what I do about 99% of the time.
Type CTRL + a first and then one of the following characters.
ccreate a new windowxkill the current windownjump to next windowpjump to previous window,rename windownumberjump to numbered windowCTRL + ajump back to the previous window%split window vertically into two panes"split window horizontally into two panes←↑↓→move between panes
VIM
yadr installs over 90 vim plugins, which are managed by the vim plugin manager vundle. Plugins are grouped by category (e.g. ruby plugins, git plugins, etc). Groupings are located in ~/.yadr/vim/vundles and loaded by ~/.yadr/vim/vundles.vim.
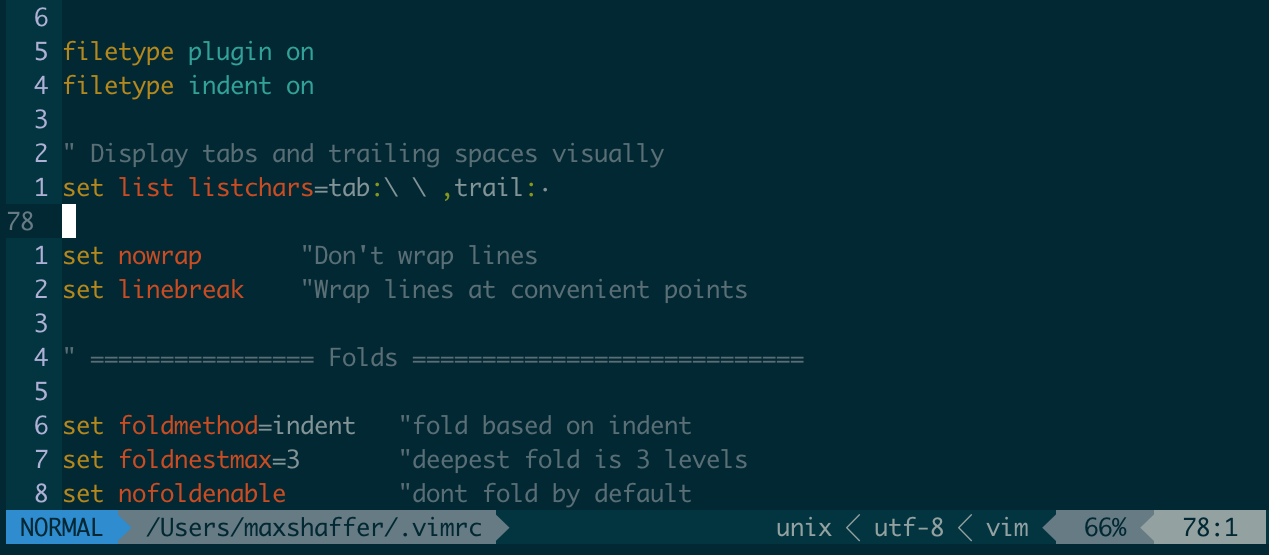
Use ve (vim edit) to open .vimrc in vim.

I really like the relative line number feature of vim, so the one thing I do change is this line in .vimrc.
set number relativenumber
If you are seeing a weird ^G character when browsing directories with NERDtree, then add this line to ~/.yadr/vim/settings/NERDtree.vim, which should fix it for you.
let g:NERDTreeNodeDelimiter = "\u00a0"
Vimify the command line
Imagine this scenario, you’ve just typed a long tedious command at the command prompt, but now you need to run the command again, but with slight modifications. This happens all the time. Maybe you run ls on a distant path, and now you want to cd to that path. Maybe you want to mv a file but the new path is slightly wrong and needs editing. Maybe you’ve typed a long command but you want to scrap the whole thing. Wouldn’t it be nice if you could use VIM to edit the content of your command? Well, you can and yadr does this by default.
yadr heavily relies of vim, but it was years before I realized the power of vim for command line editing. By default the command line is in insert mode. Press ESC on the command line to exit into normal mode just like in vim. You can then use all of the usual vim commands to navigate the command line. This one feature alone will change your life. Mind = Blown!
Keeping up to date
Every so often you’ll probably want to keep your yadr installation up to date with any changes that are made to the main development branch.
Obviously you could just branch off of master, pull master, and rebase your branch. Things get a little more complicated when you fork the yadr project on Github, which you need to do if you want to store your branch somewhere. I recommend the following.
After installing yadr navigate to ~/.yadr and change the origin repository to point to your fork.
$ cd ~/.yadr
$ git remote set-url origin https://github.com/USERNAME/dotfiles.git
Now create another remote that points back to the main yadr repo on Github.
$ git remote add upstream https://github.com/skwp/dotfiles.git
$ git fetch upstream
Now when you want to update your installation with changes from the main project, you can fetch the upstream changes and merge them to your master branch.
$ git fetch upstream
$ git merge upstream/master
Now push the changes to your Github fork for safe keeping.
$ git push origin master
Now update your plugins.
$ rake update


